0


| Thumbs Up |
| Received: 10 Given: 11 |
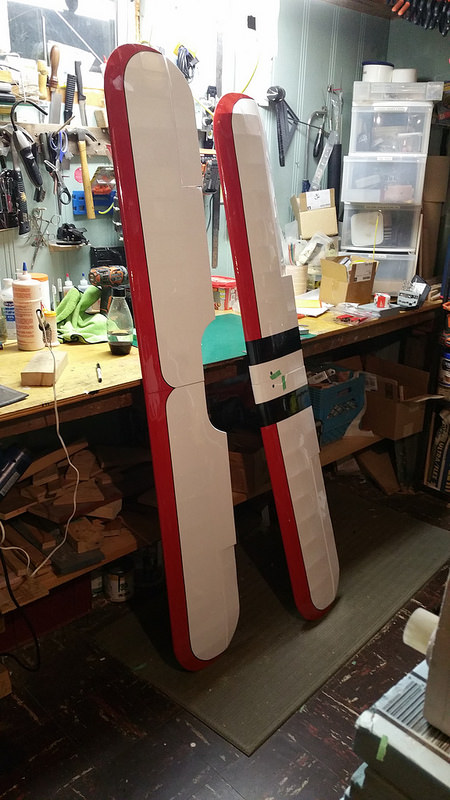
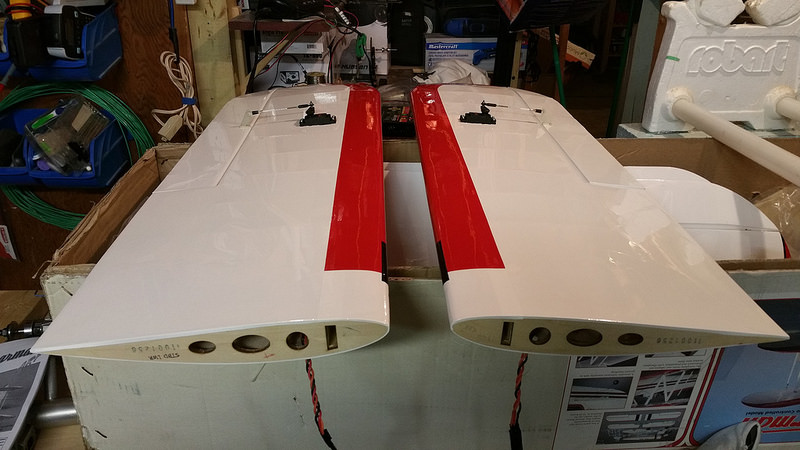
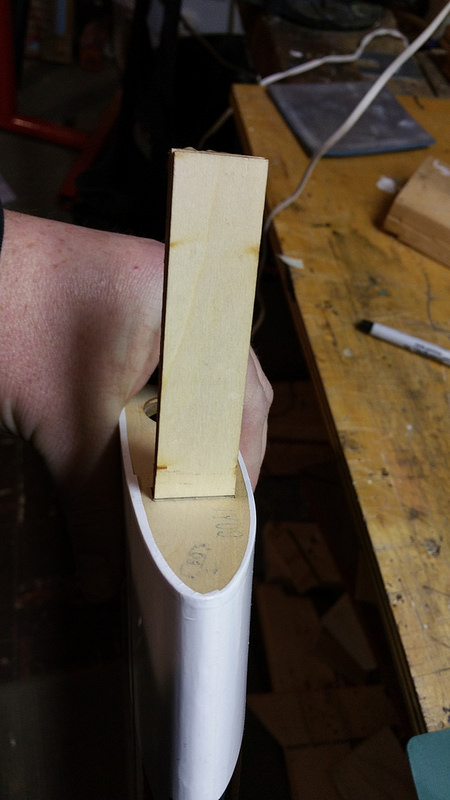
The wing joiners are ready to fit into the wings. No sanding was necessary for either set.
| Thumbs Up |
| Received: 10 Given: 11 |
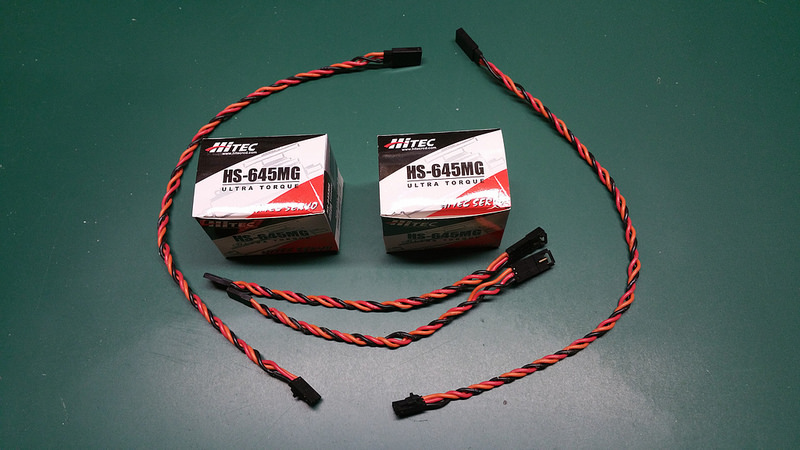
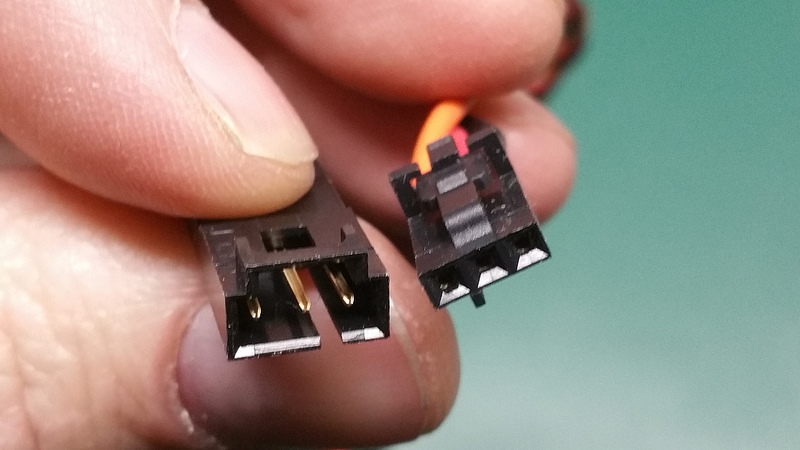
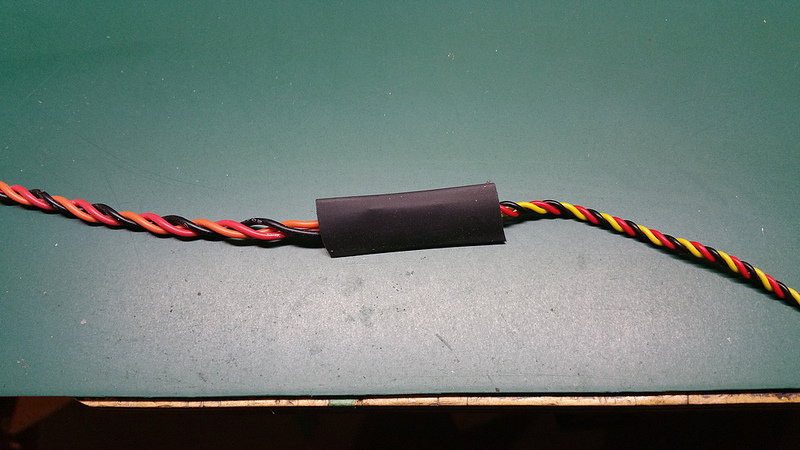
On to the aileron servos. The manual calls for 12" extensions and I am using these TBOLT harnesses. They provide a keyed and locked connection.
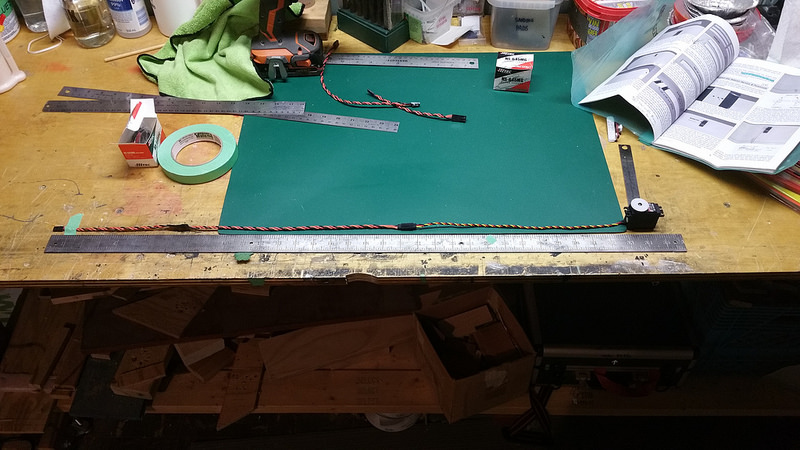
With the extensions there's 33" of servo lead. Just right for these wings.
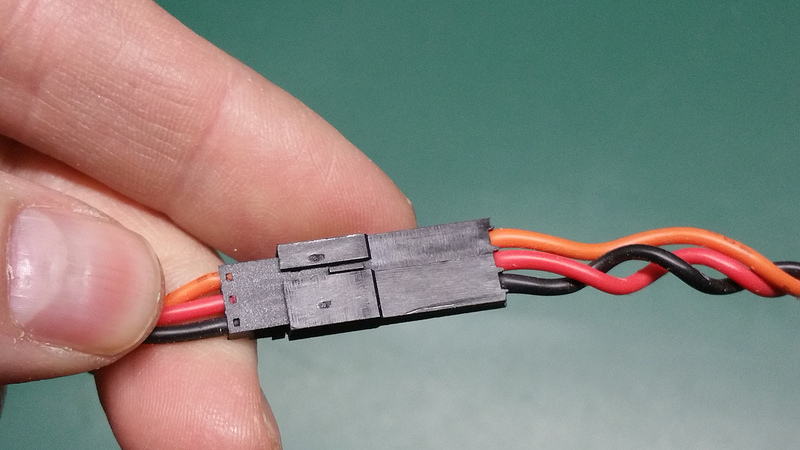
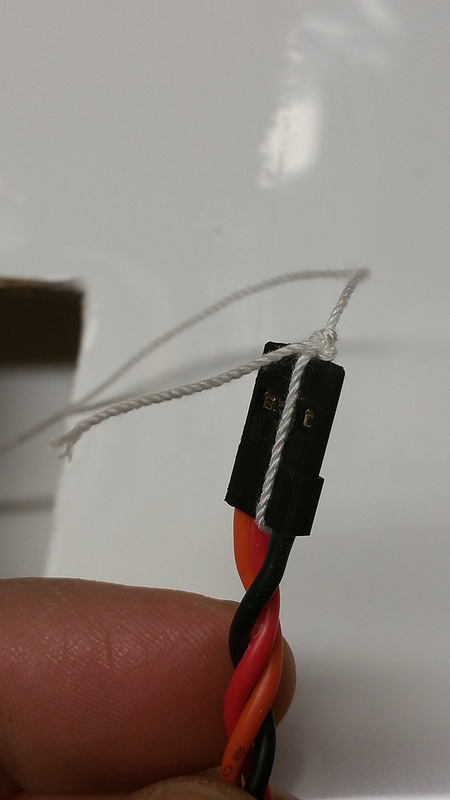
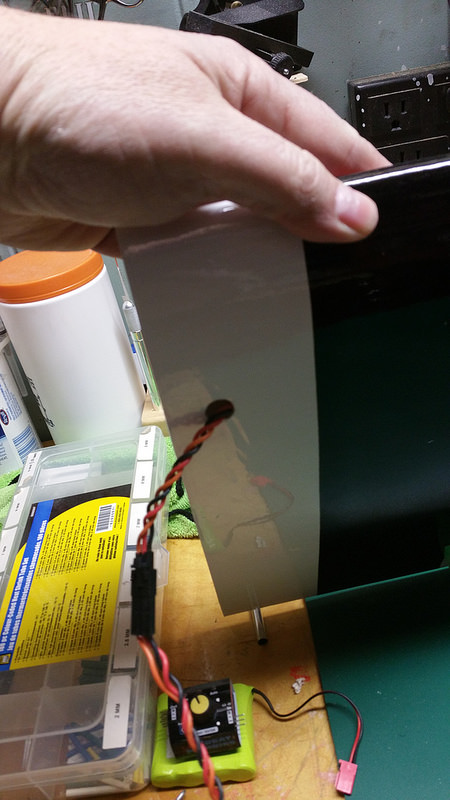
The connection to the servo gets heat shrink (before picture).
And the leads are pulled through the wing.
| Thumbs Up |
| Received: 10 Given: 11 |
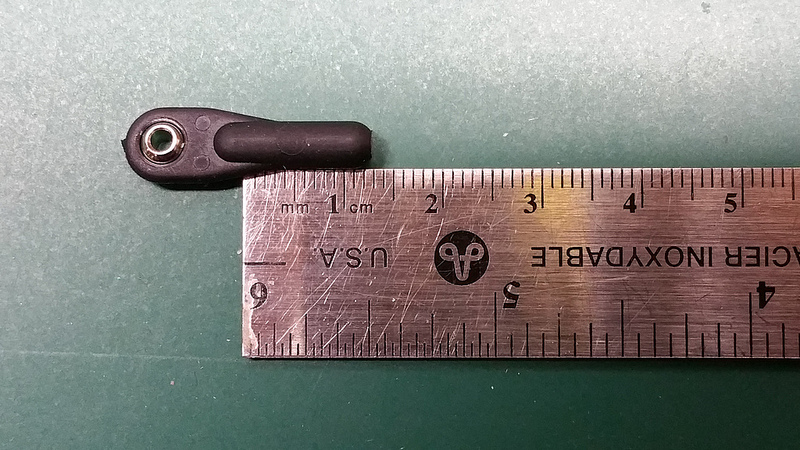
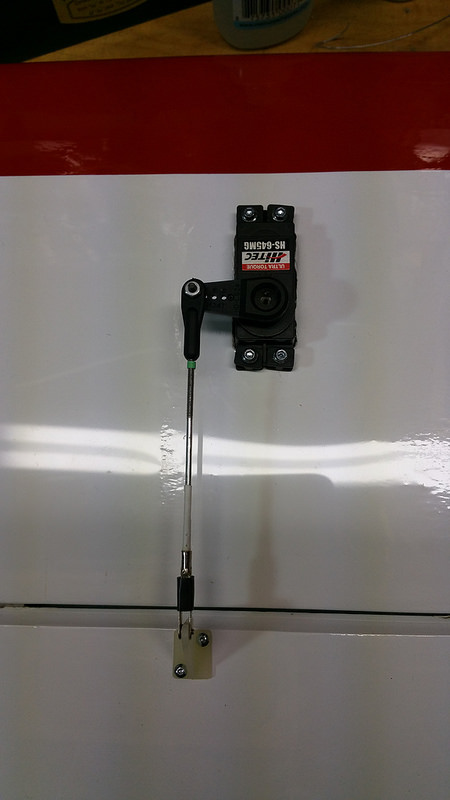
Aileron push rod time. I am using the supplied 2-56 threaded rods and nylon control horns but replacing the supplied FasLinks and plastic clevises with ball links at the servo arm and solder clevises at the control horn.
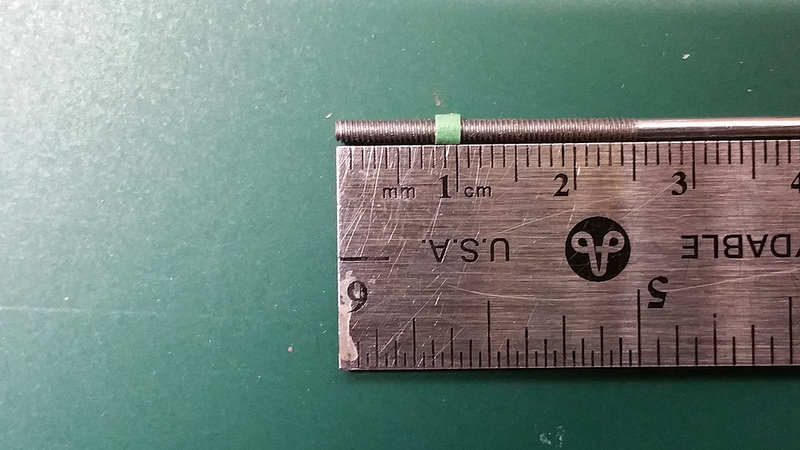
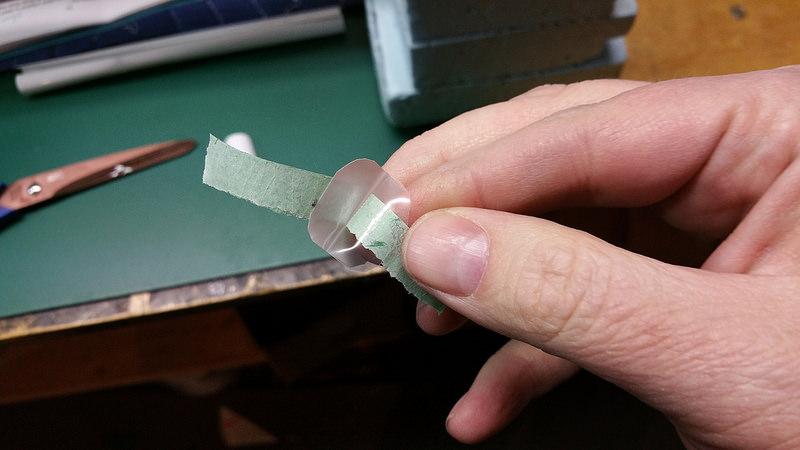
The ball links are about 13mm deep.
So I figure 8mm of threaded rod is a good depth allowing for adjustment.
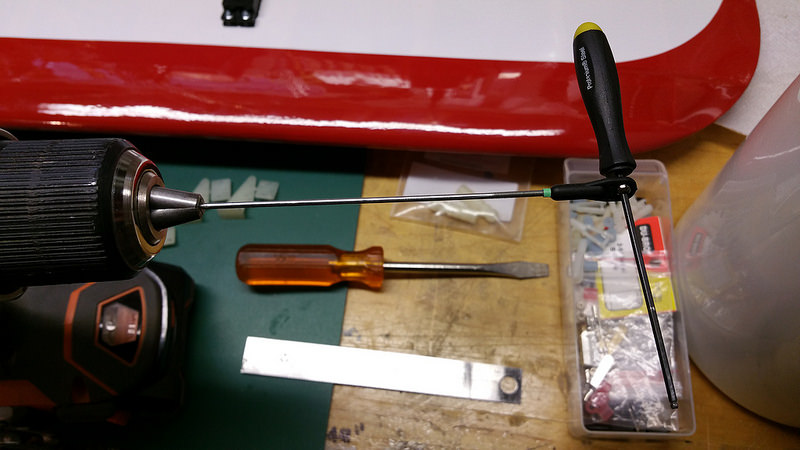
Threaded rod chucked in the drill, ball link started, driver to keep it in place.
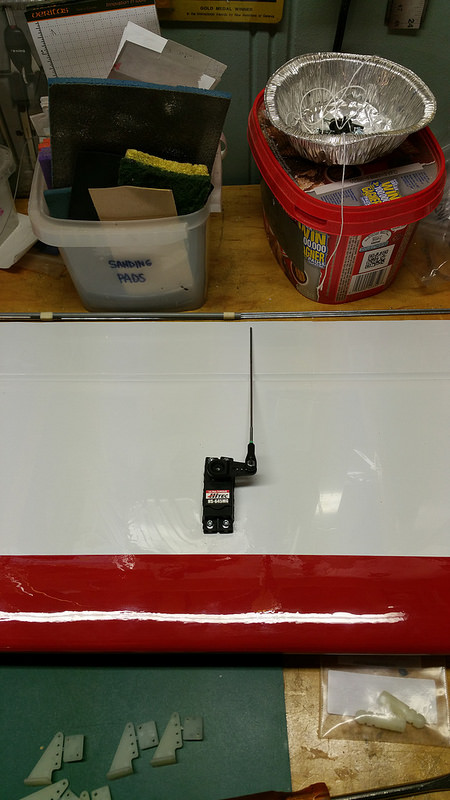
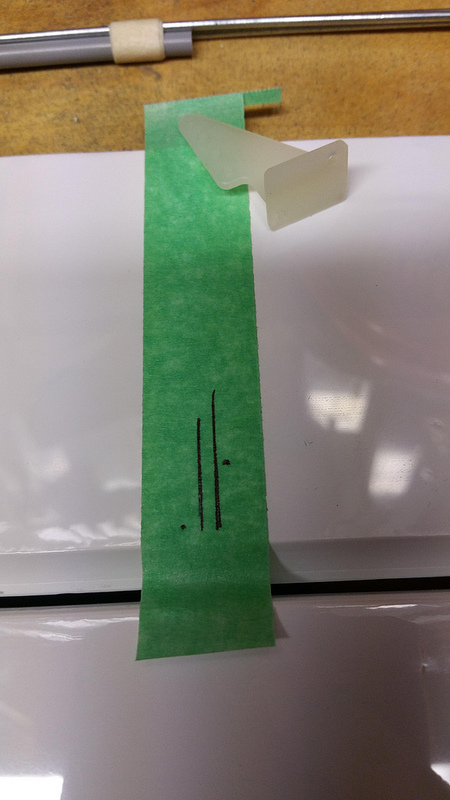
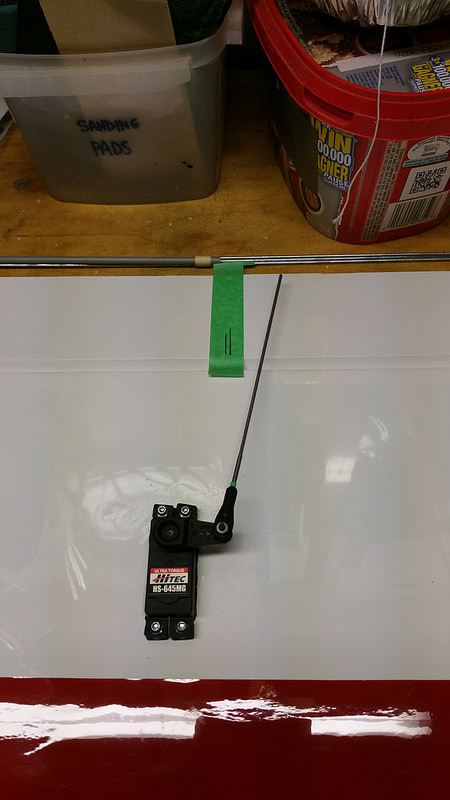
Pushrod aligned according to the rigorous standard of TLAR.
Push rod path marked.
| Thumbs Up |
| Received: 10 Given: 11 |
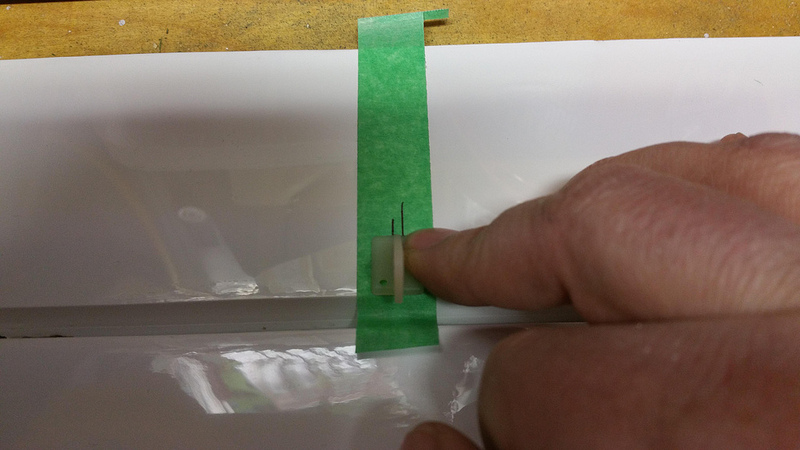
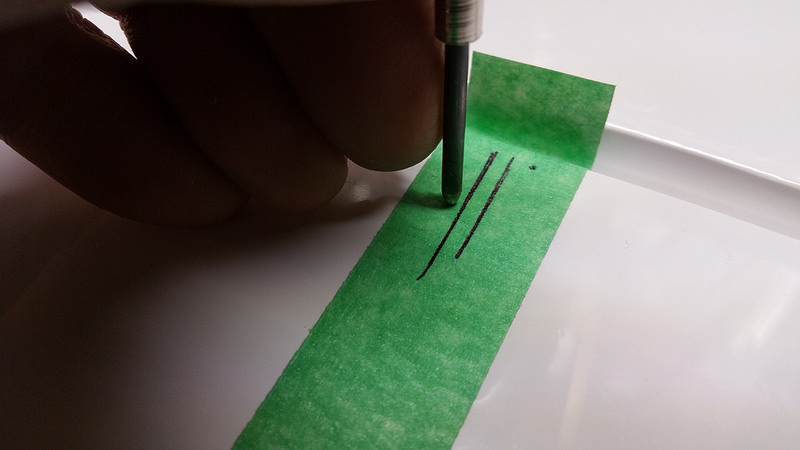
Marking the control horn holes.
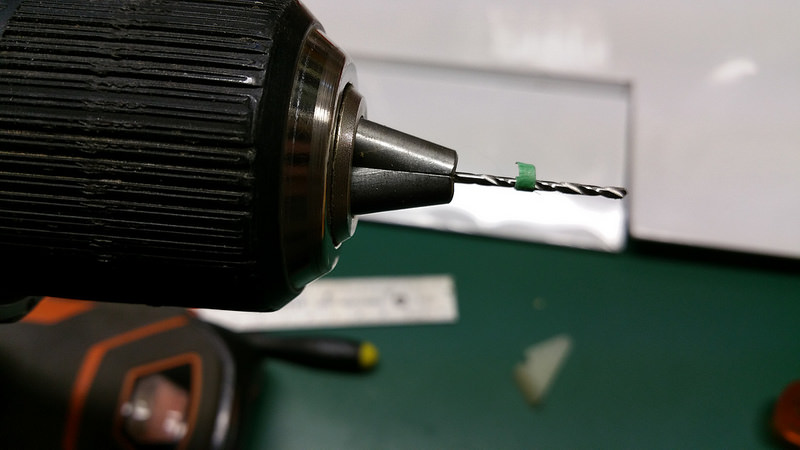
1/16" bit marked for 7/16" depth.
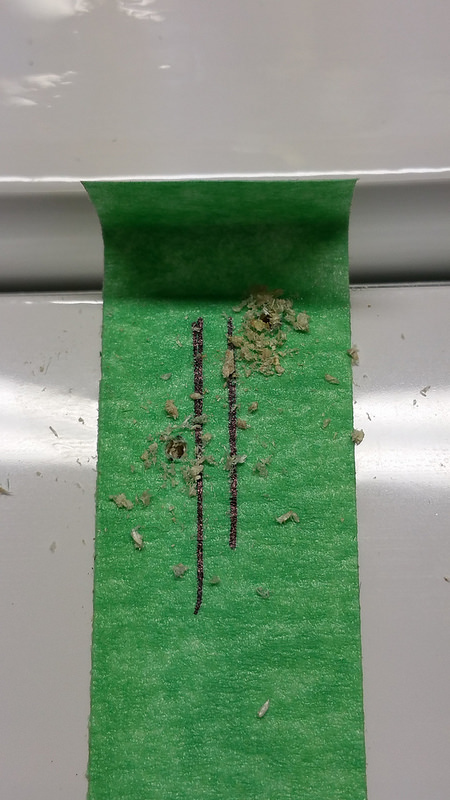
Control horn holes drilled.
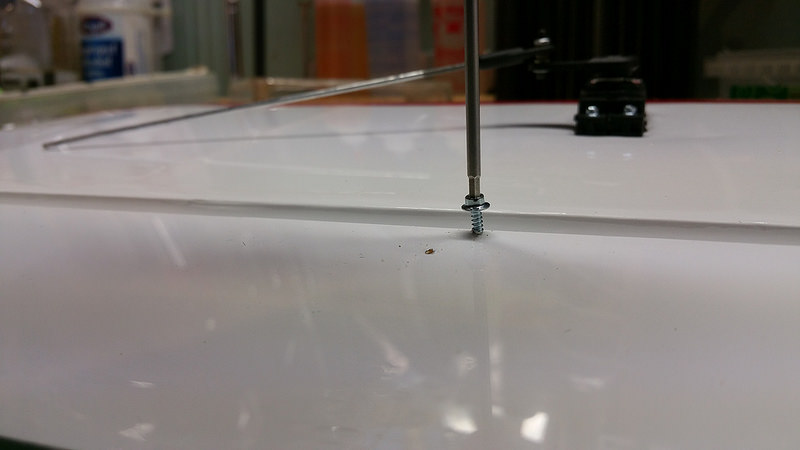
Threading the holes with a #2 screw
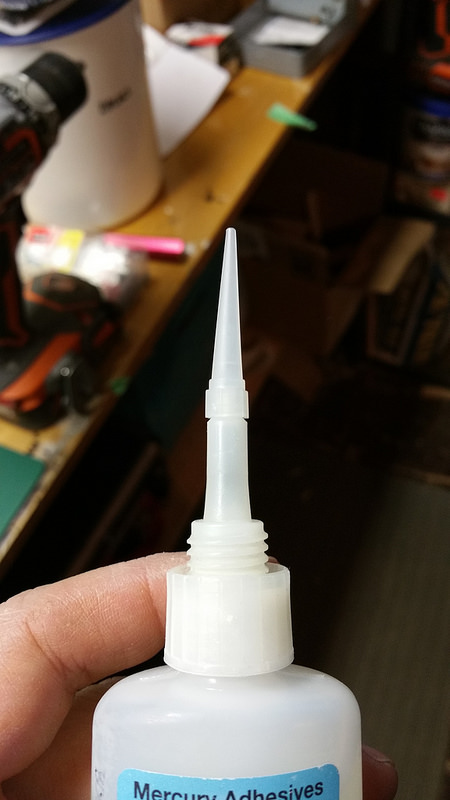
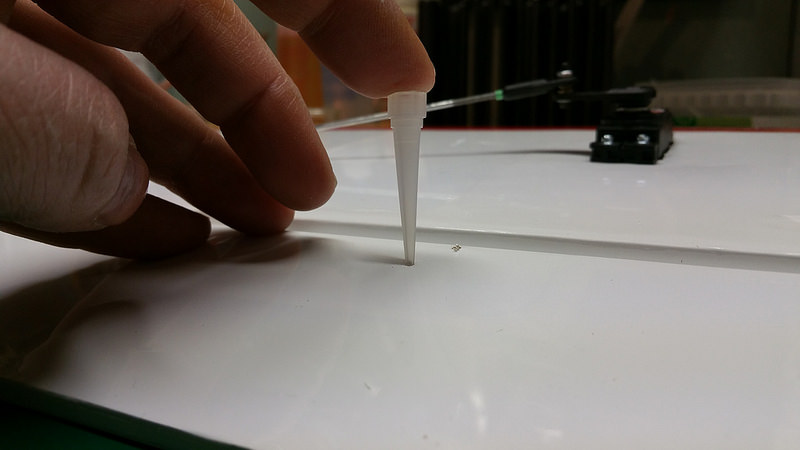
Hardening the threads. Using one extension tip on the bottle of thin CA...
... and another as a funnel. It worked really well.
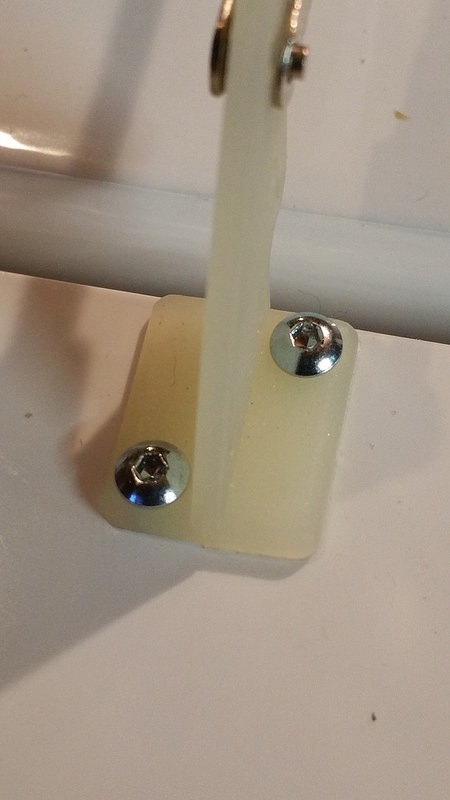
Control horn installed with #2 x 1/2" button head screws.
| Thumbs Up |
| Received: 10 Given: 11 |
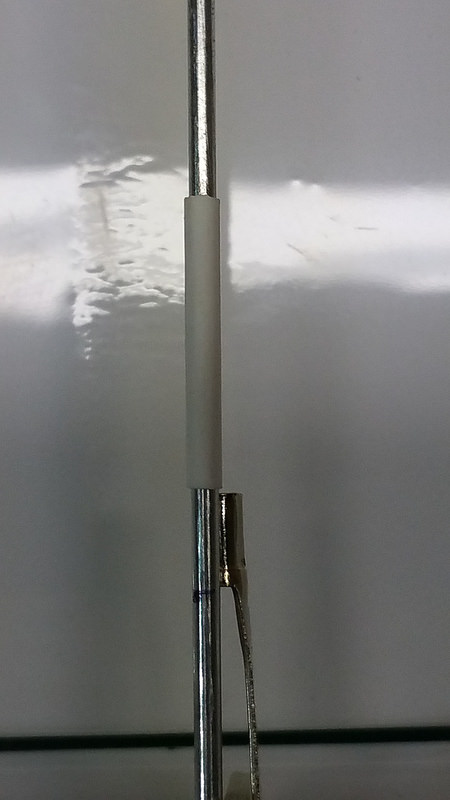
Marking where to cut off the threaded rod for soldering.
Rod marked for cutoff and with some heat shrink where it will enter the solder clevis.
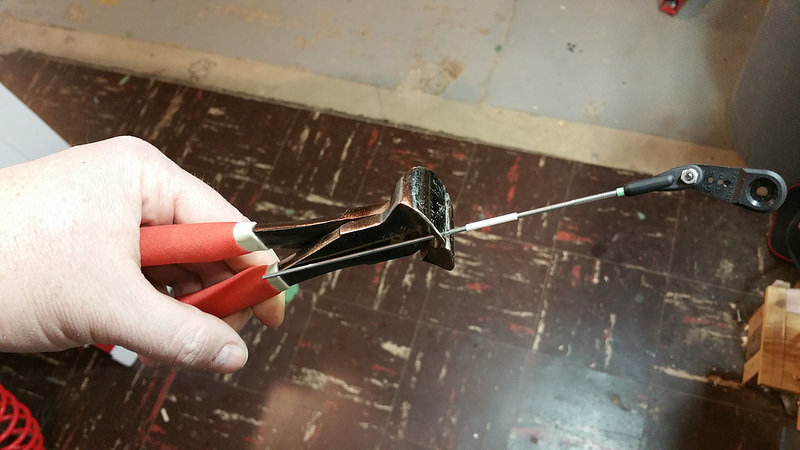
Cutting the rod.
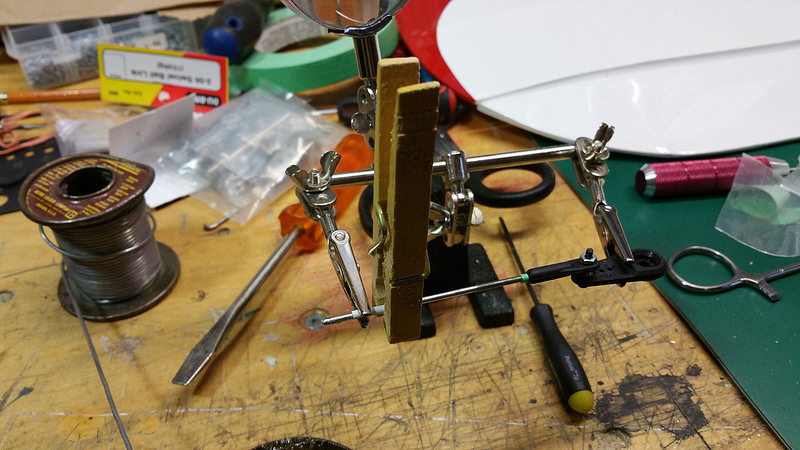
Rod in helping hands, paste flux on end. The clothespin is a heat sink.
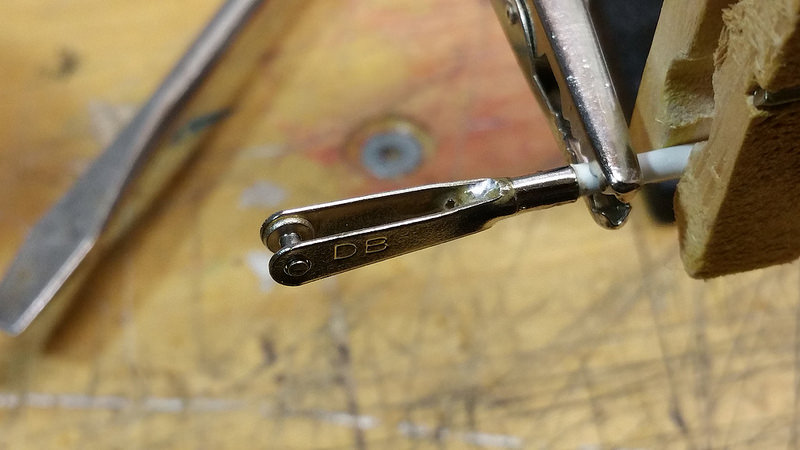
Clevis soldered.
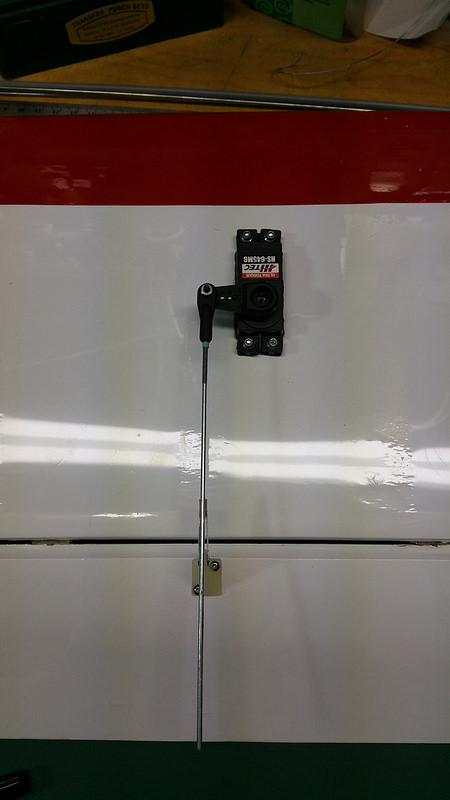
Starboard aileron push rod complete.
Both lower wings done.
| Thumbs Up |
| Received: 10 Given: 11 |
A word on progress...
The manual is divided into sections. Each section (22 in all) contains one or more tasks , and each task contains one or more steps (from 1 up to 24 per task). I am only counted the steps I am doing: for example, I am not permanently joining the wings and I am not installing servos on the upper wings, so those steps don't count.
For the sake of simplicity I consider all steps equal in complexity, so I have weighted allocated time for each section based on the number of steps it contains - from 0.09 to 2.19 hours.
Vendor's estimated build time: 20 hours
Current actual build time: 14.06 hours
Progress through build (estimated): 18.2%
Estimated build time at this rate: 77.3 hours (a gain from last report's 80.8)
... and 144 photos.
| Thumbs Up |
| Received: 10 Given: 11 |
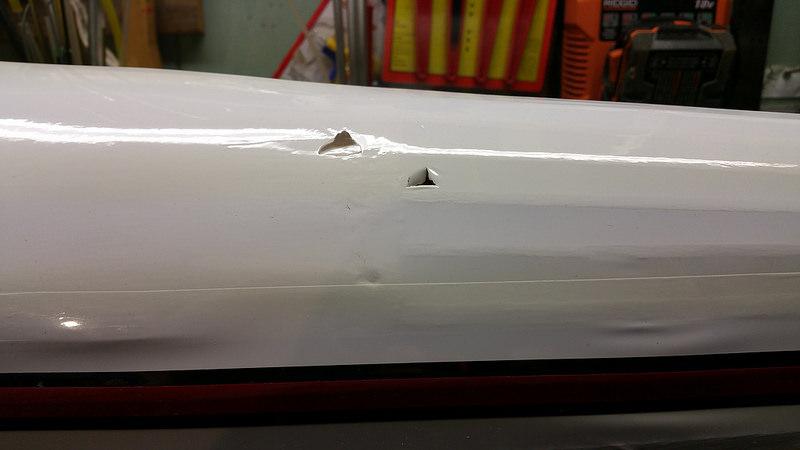
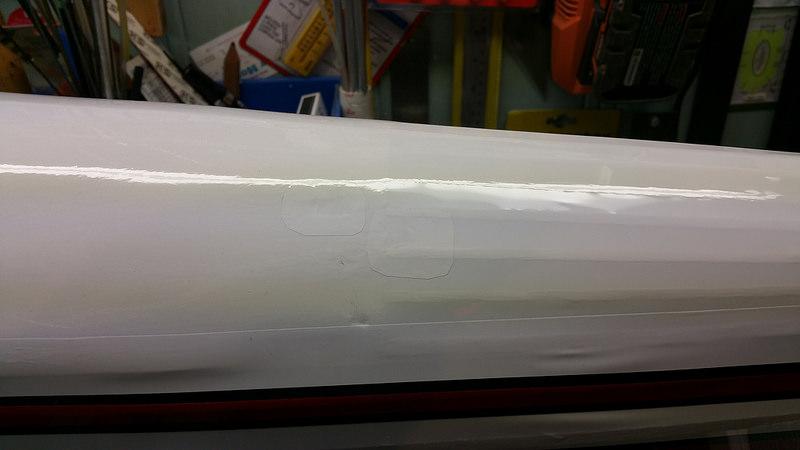
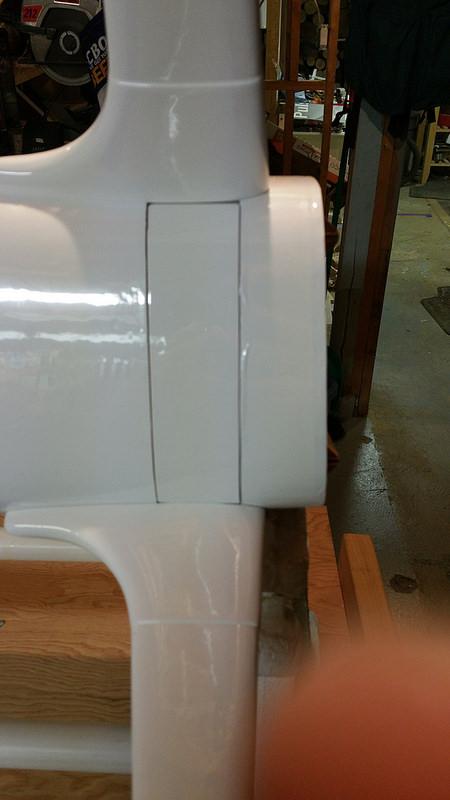
There were a couple of holes in the fuselage covering so I decided to take care of those before moving on.
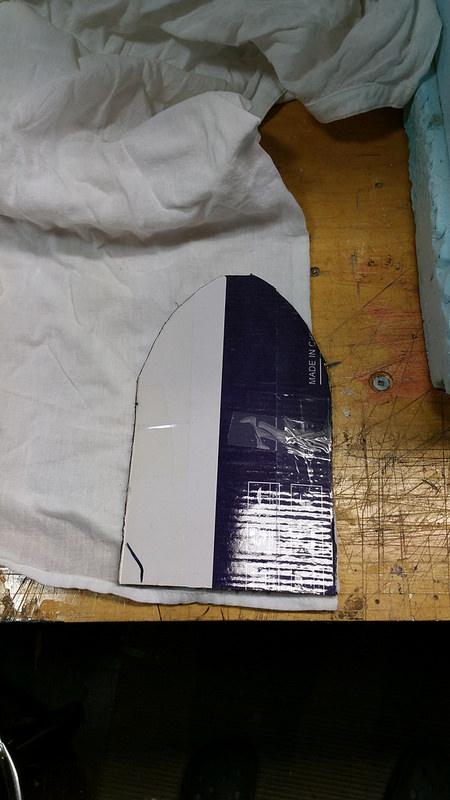
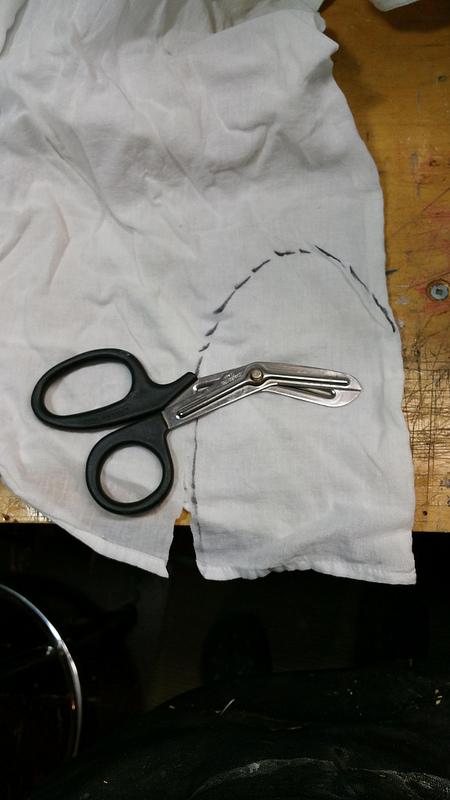
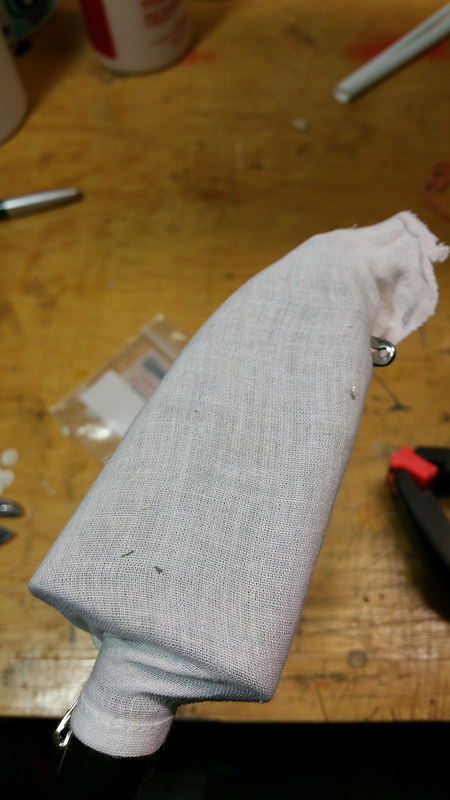
Time for fresh cover for my iron, so I hauled out the old t-shirt, form and scissors.
Held on my 4 safety pins. Not pretty, but it works.
Still the best way I know to separate monokote from its backing.
Patched.
| Thumbs Up |
| Received: 10 Given: 11 |
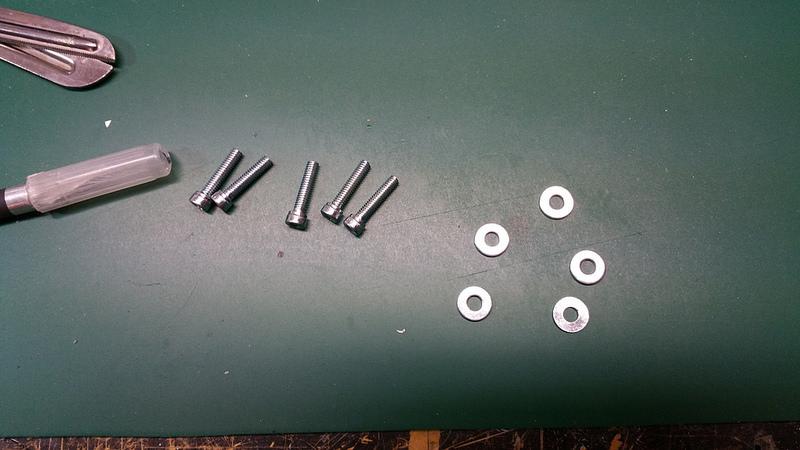
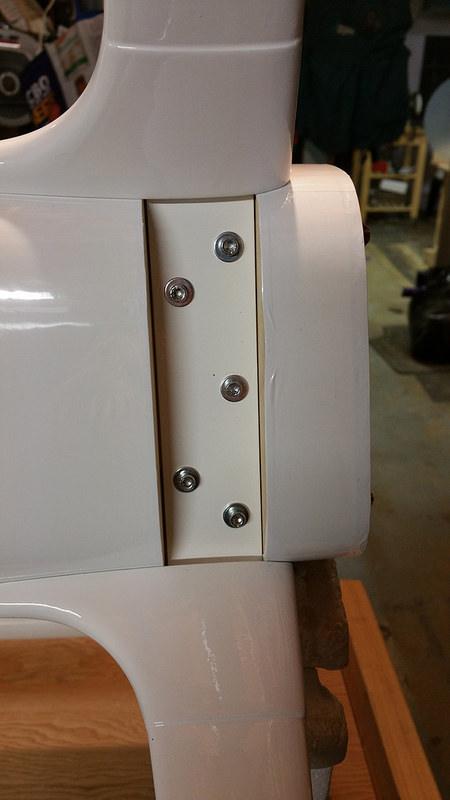
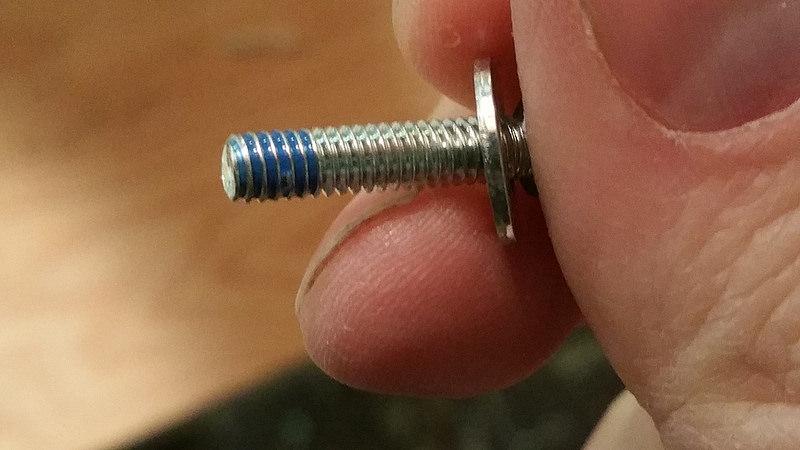
Time for the main gear. They supply the 8-32 SHCSs... the washers were my idea.
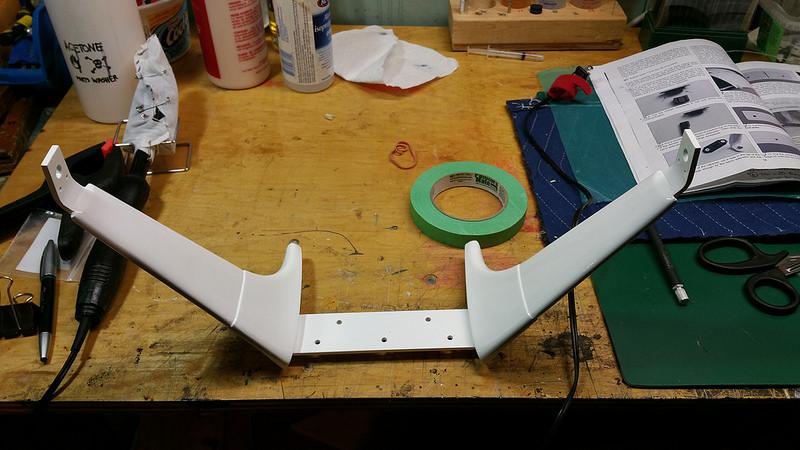
Very nice main gear.
Bolted in place.
Bolts removed one at a time for thread lock.
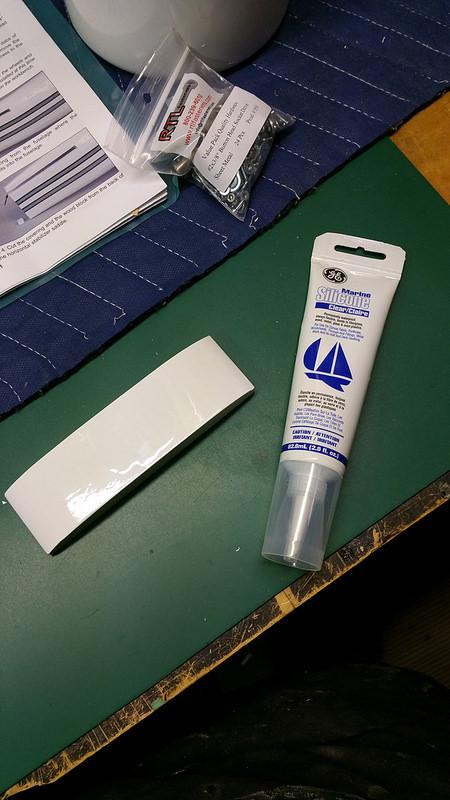
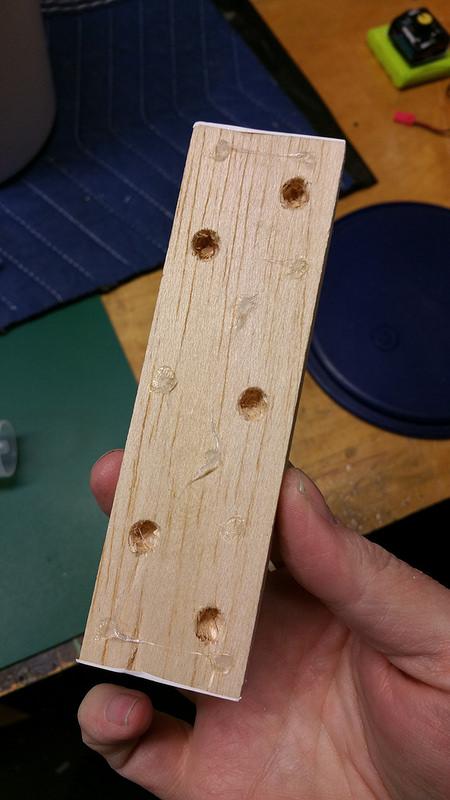
The gear cover will be attached with silicone for easy removal.
A little dab'll do ya.
In place.
| Thumbs Up |
| Received: 7 Given: 4 |
Enjoying the build, it's refreshing to see someone build at more my pace. LOL
I love the tbrum threads and learn a lot from them but they can get depressing when he builds kits faster than I can assemble an ARF. His work area is as clean as my living room (he apparently cleans with a Swiffer and a scoop shovel is a more appropriate tool for my shop).
Anyway keep up the good work and enjoy.
| Thumbs Up |
| Received: 10 Given: 11 |
I admire Trevor's work too. I can't keep up with his speed... expertise... budget... flying skill, but... wait where was I? :POriginally Posted by tkbig

Thanks for the kind words. Nice to have you on board.
There are currently 1 users browsing this thread. (0 members and 1 guests)
 Posting Permissions


 Reply With Quote